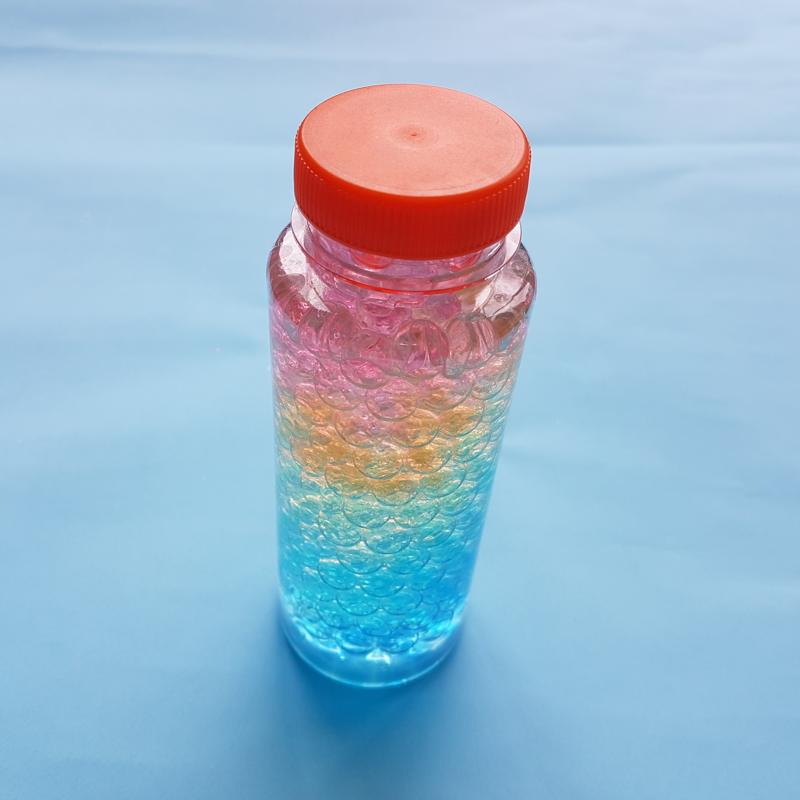
I’ve spent many hours fascinated by the movement of this rainbow sensory bottle, especially the way the baby oil moved through the water beads. Take a look at this video link Rainbow sensory bottle (Instagram)
Now you have enjoyed watching this here is a simple guide on how you can make this yourself…
Resources needed
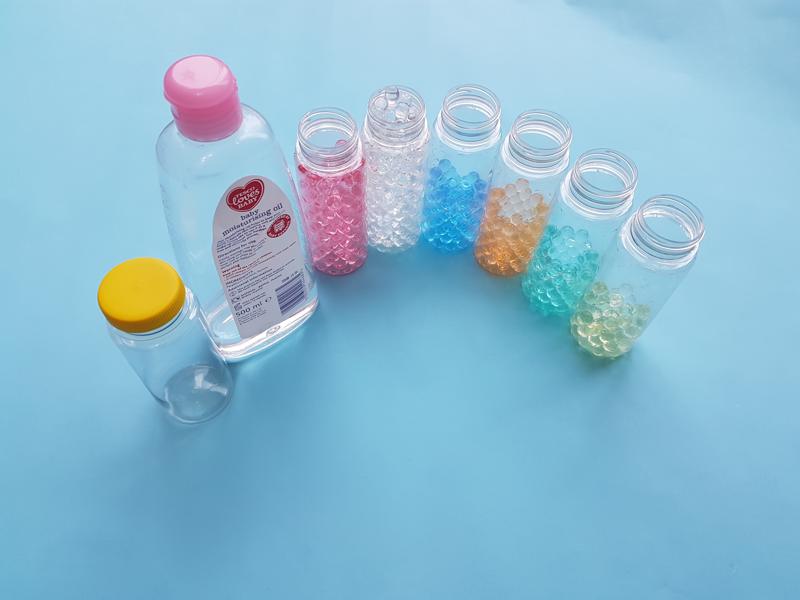
- Coloured water beads
- Empty bottle with lid (I used a 150m bottle)
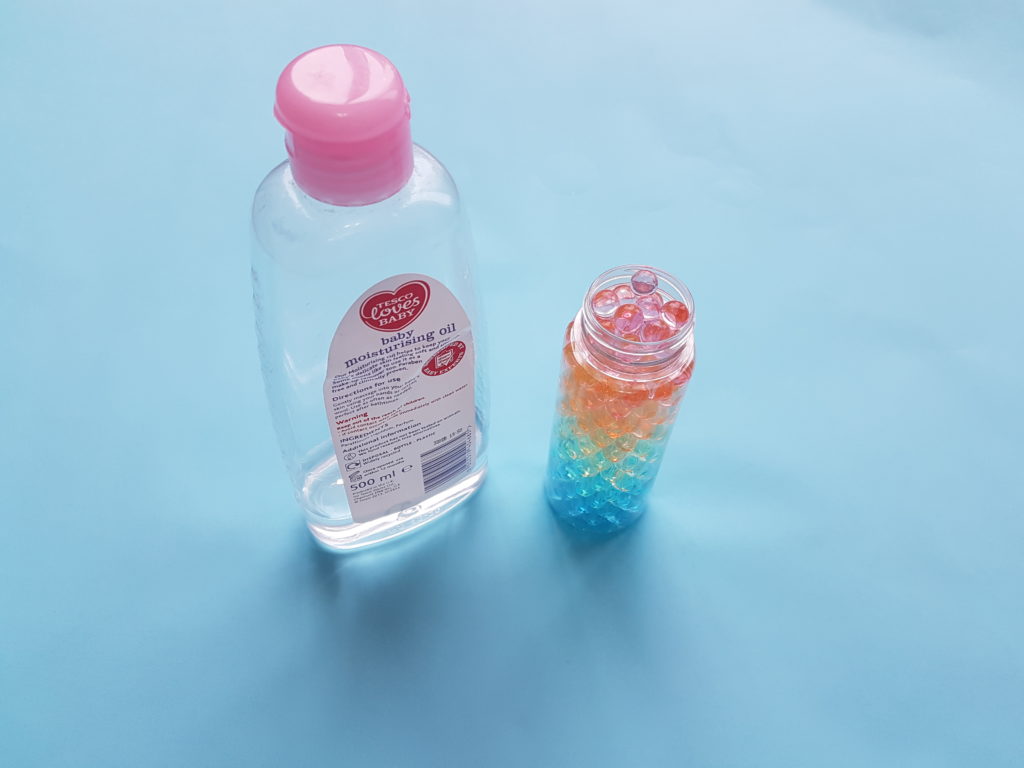
- Baby oil
- Water
Method
Get the children involved in making this sensory bottle, they will enjoy putting the beads into the bottle and watching it being made.
- Place the beads into a container and add some water and wait for the beads to expand. This can take 4-8 hours and more water will need to be added during this process. I used warm water this seemed to work quicker.
- Separate the colours if you have them all mixed.
- Place 3 layers of each colour beads into the bottle, (this may vary depending on the bottle size you are using) I kept the clear beads to fill up the rest of the bottle to the top.
- Make sure you push down the beads so they are squashed in to stop them from moving, you can add some clear beads in with the colours if you need more of that colour.
- Add a small amount of baby oil.
- Then add more beads if needed then put on the lid and screw tightly.
- At this point turn the bottle upside down and make sure you’re happy with the oil movements. (I ended up adding more until I was happy with it)
- When you’re happy with the bottle make sure you use super glue to secure the lid before giving it to the children.
- Wash the sensory bottle with soapy water to remove the baby oil from the outside.
This rainbow bottle may be better suited for older children rather than babies as there is not much sound or movement for them to see. Toddlers and older children may enjoy the colours and the slow moving oil inside more.